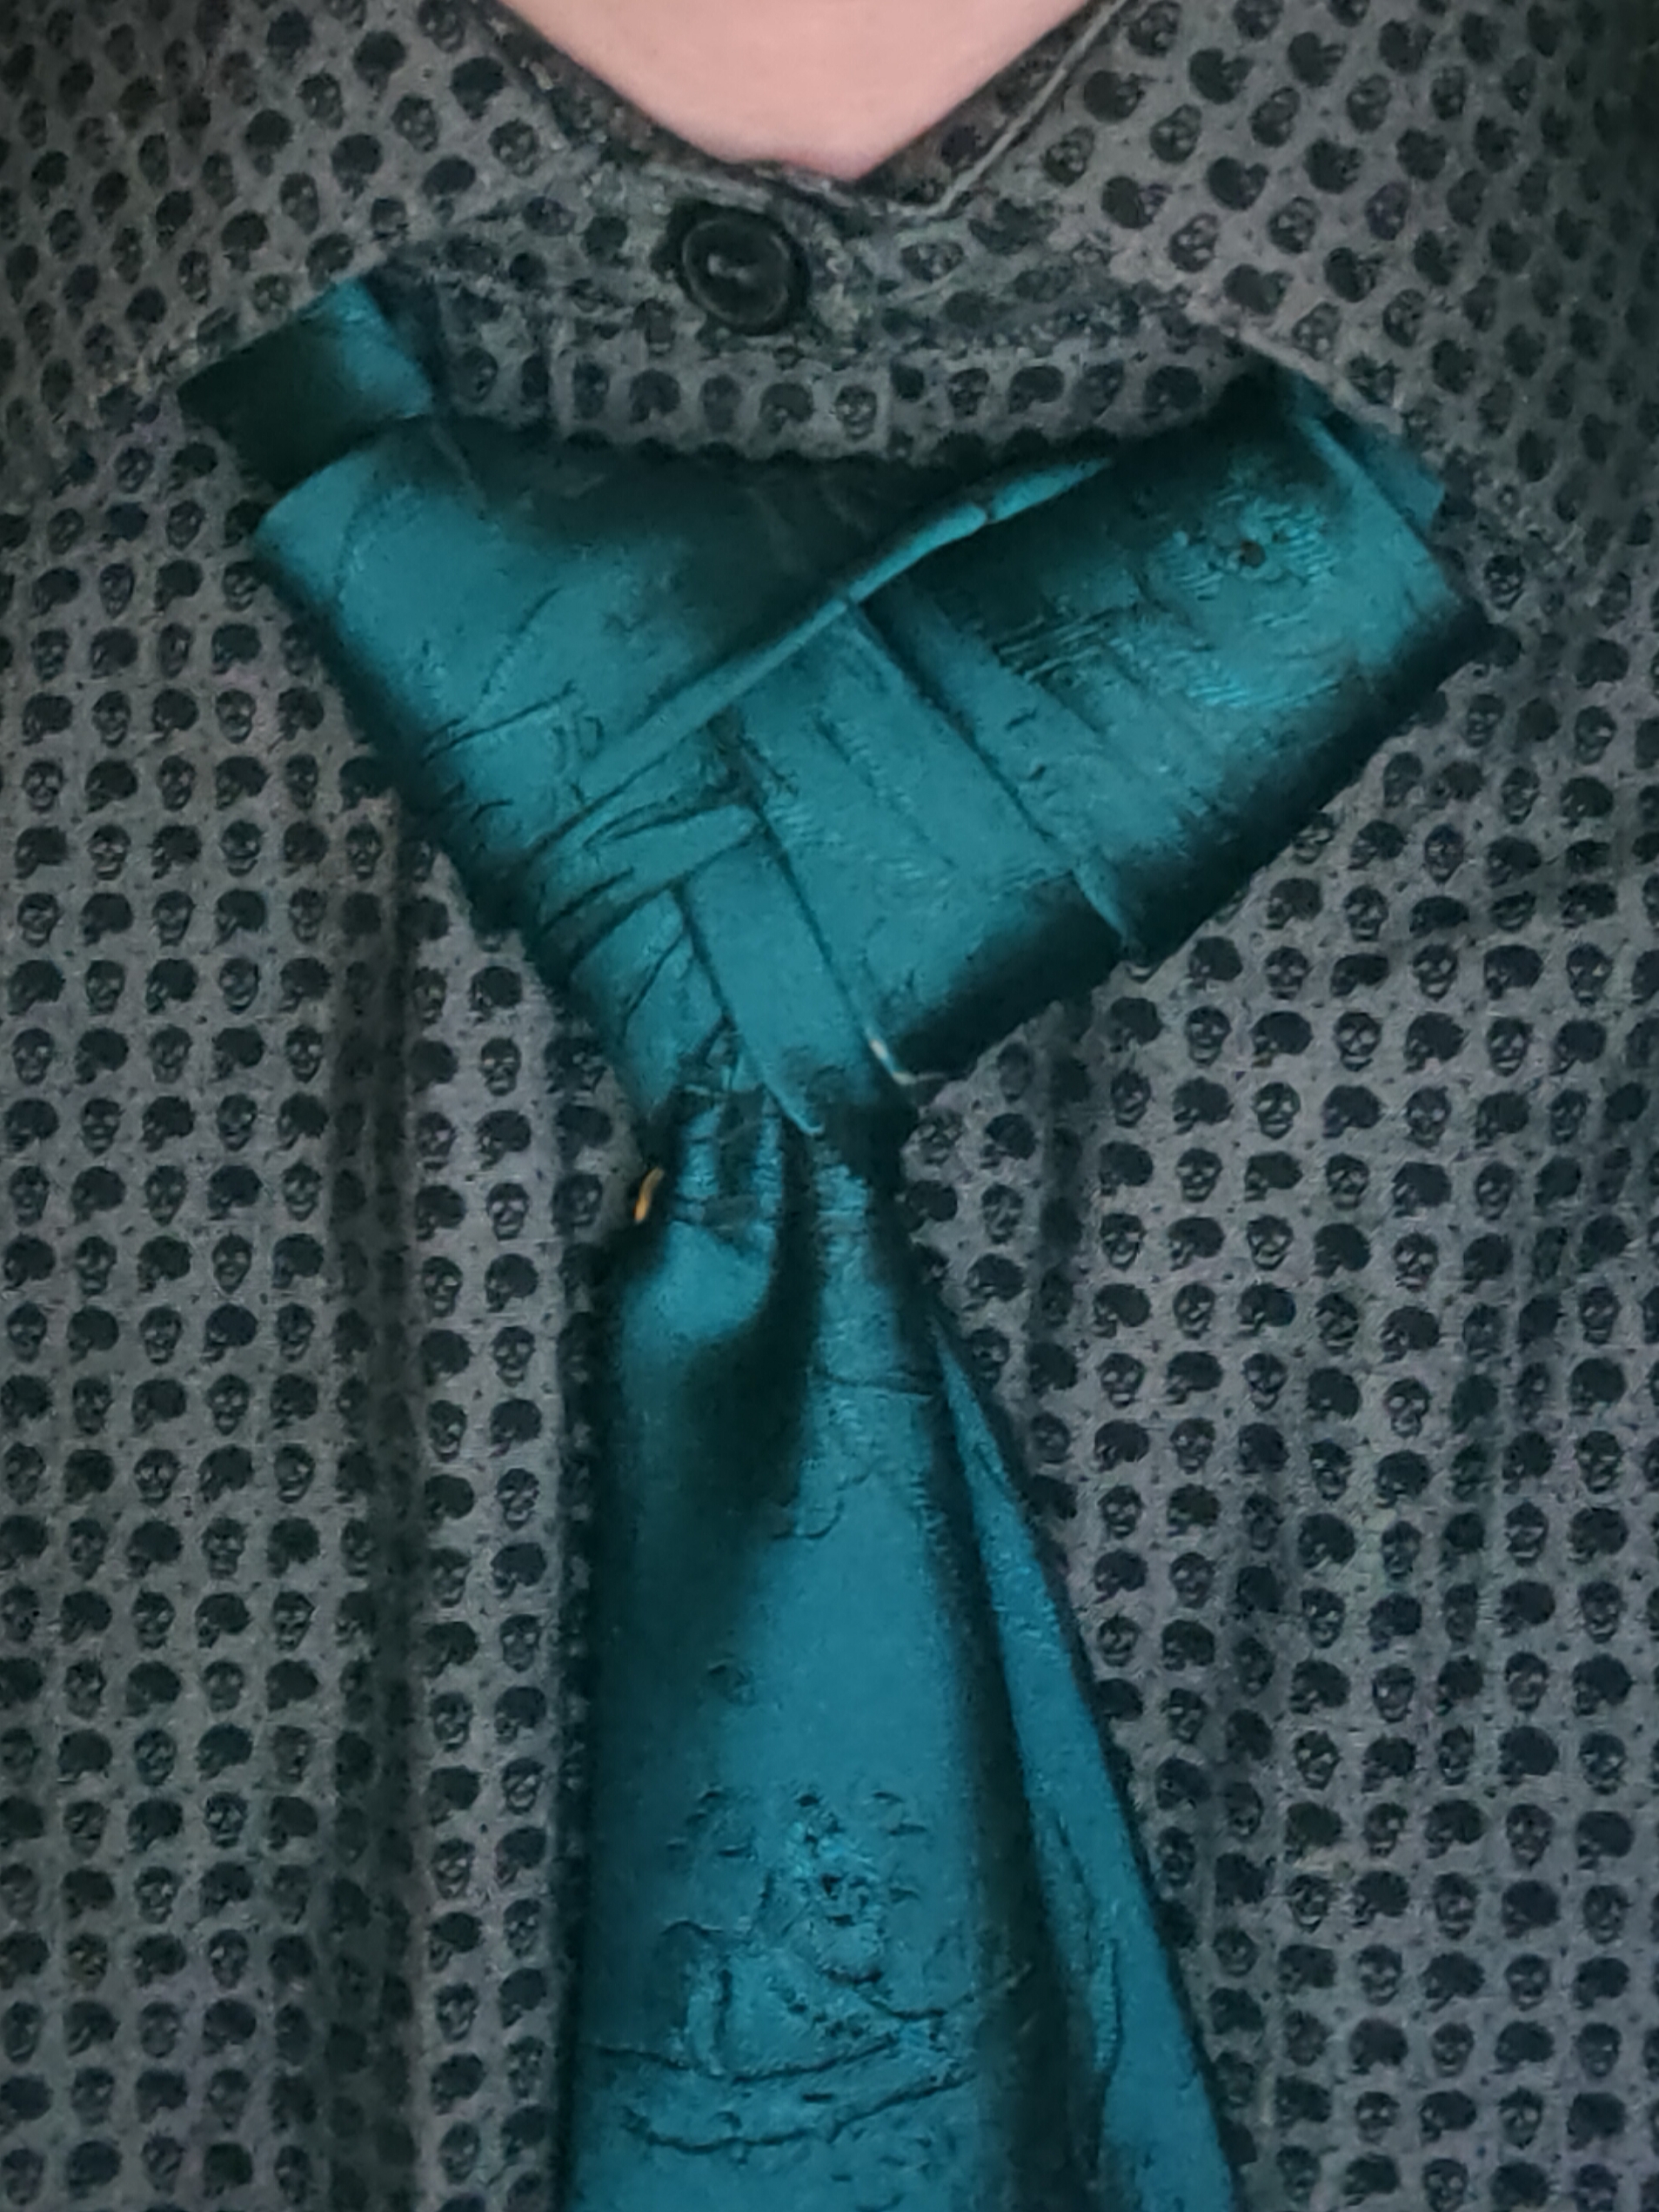
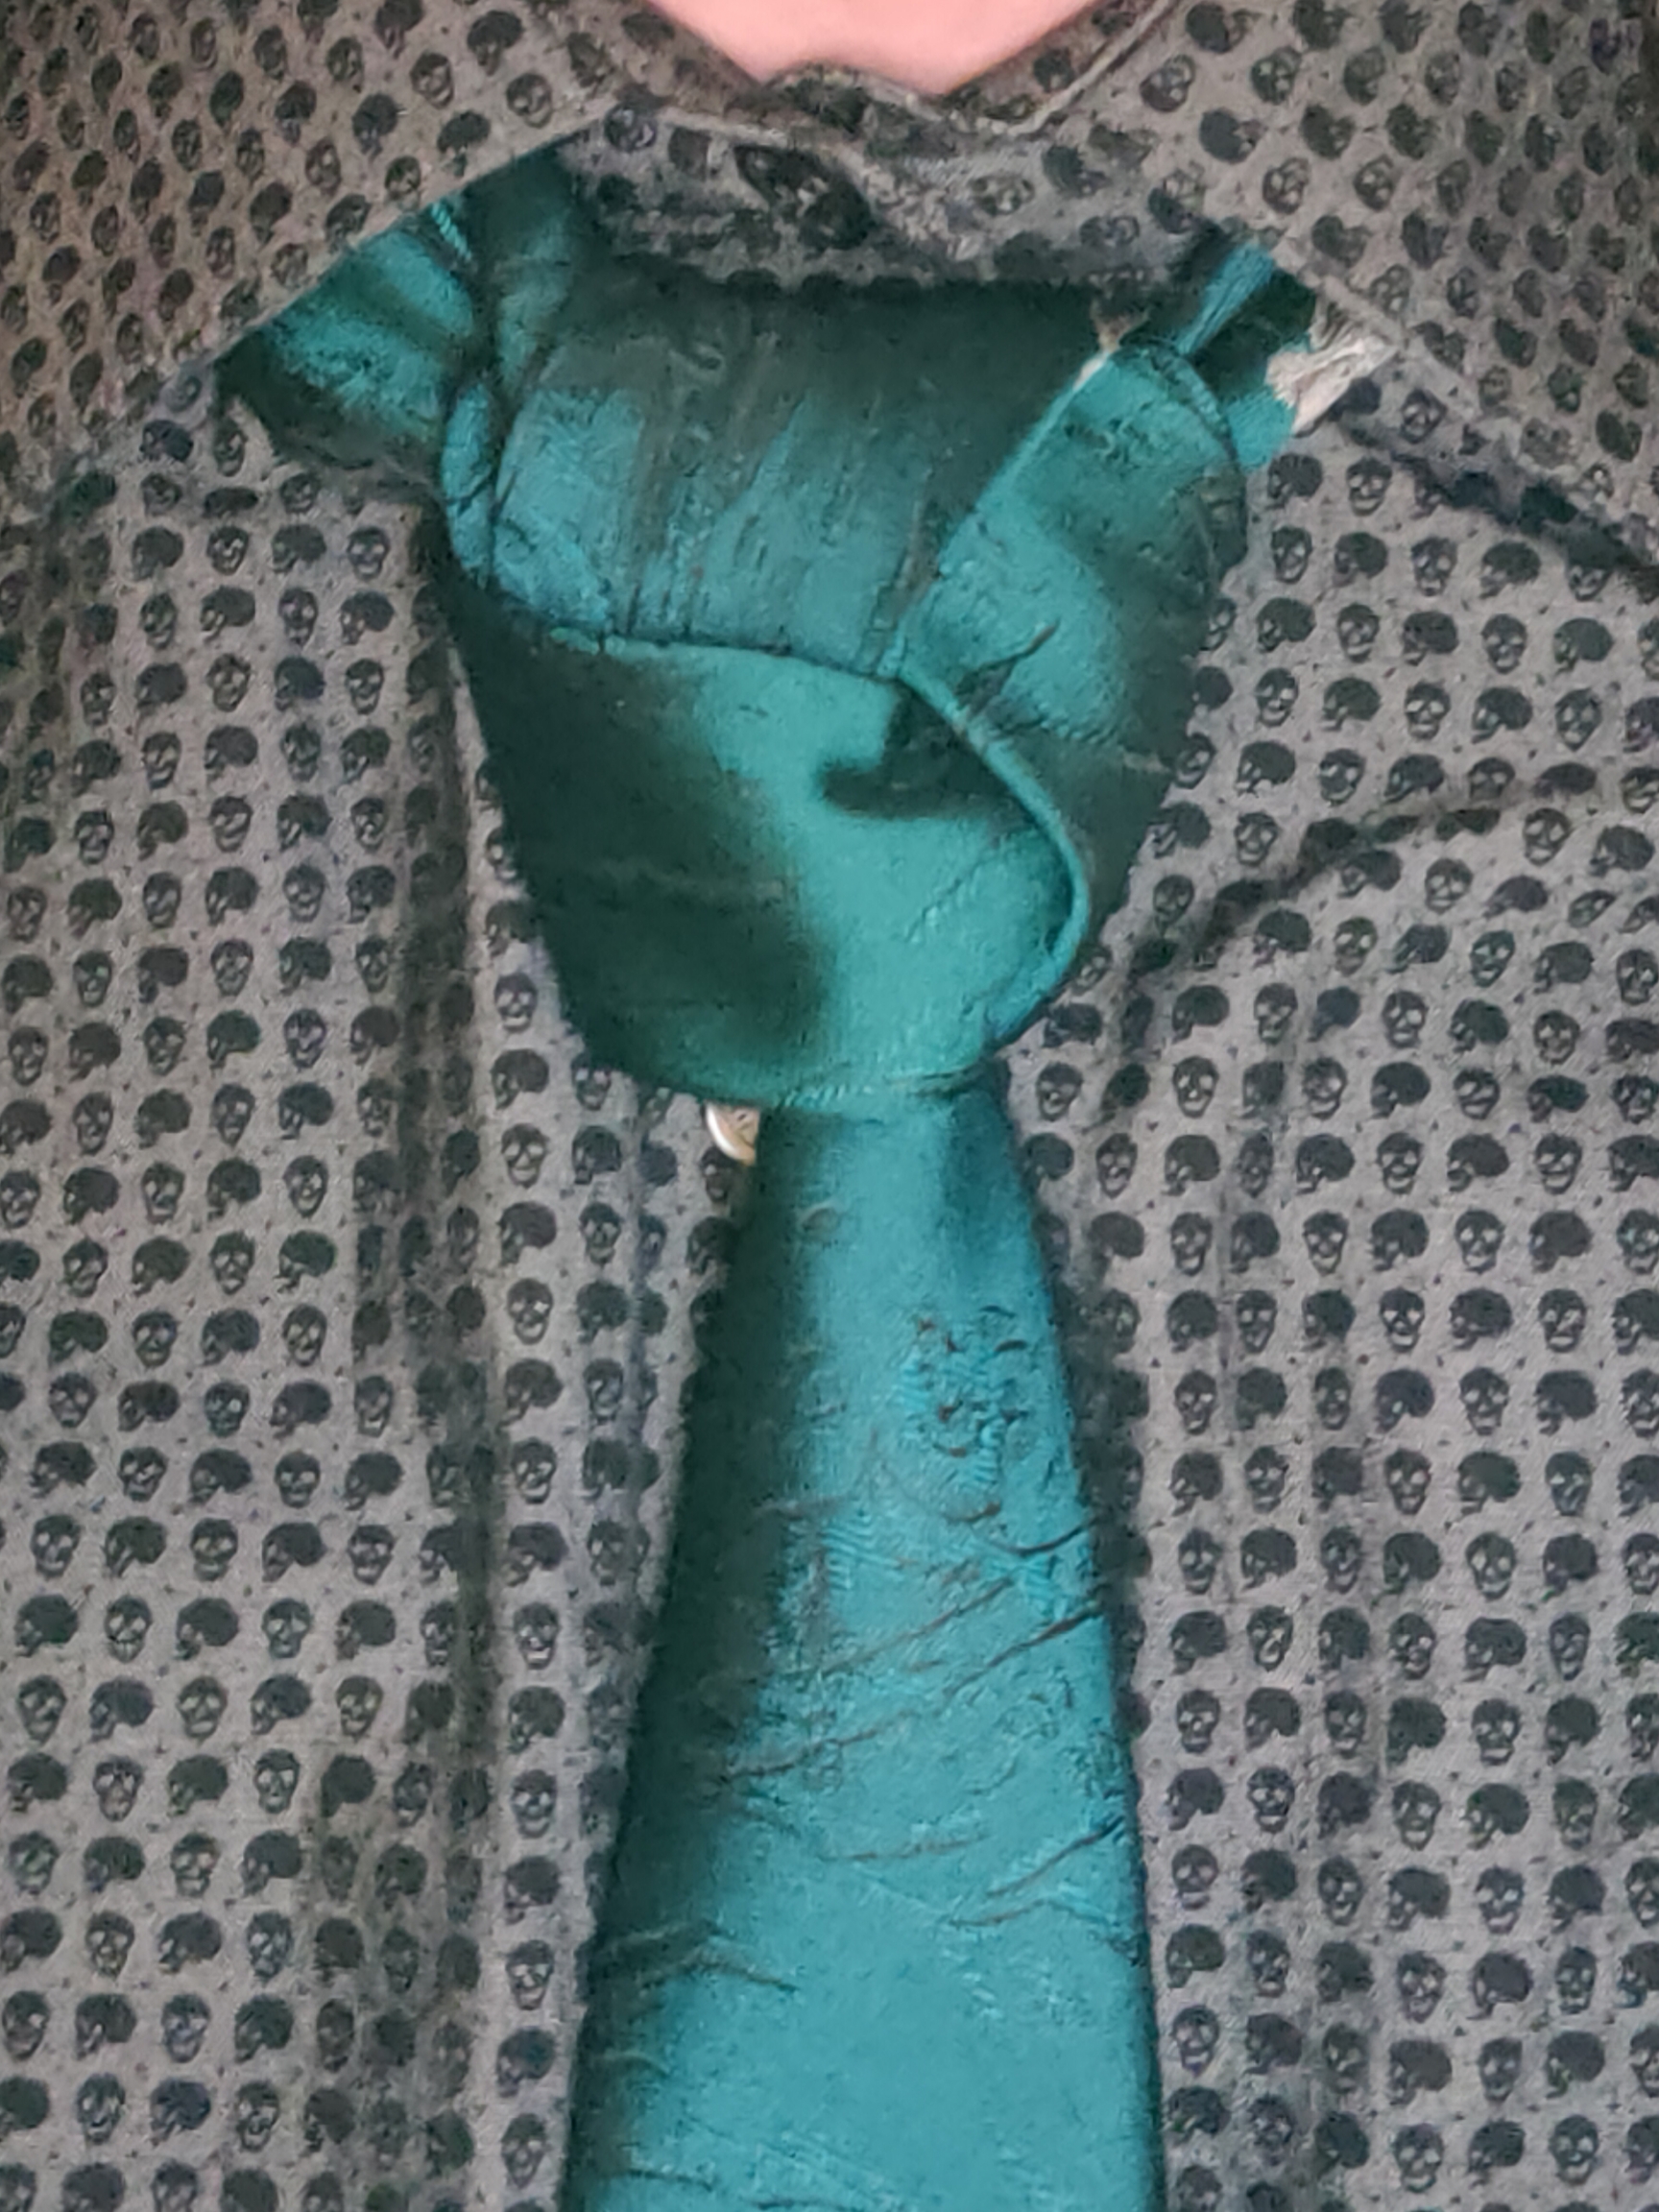
Necktie Knots for all occasions

Back

This list is of all the tie knots I use, (in progress) described in a consistant and specific format. Ordered mostly by uniqueness.

The first line should indicate which end of the tie you are moving. Start with it around the back of your neck, both ends laying flat down your chest.
If it says tie with large end, place the small end above your target length, farther up based on how many moves the knot is. If it says tie with small end, place the large end slightly below your target length.
If the first line says reversed, the backside of the knot should face outward, otherwise keep the backside facing your chest.

Keep about an inch between the knot and your neck while tying.
Once finished, adjust and tighten as desired to smooth out the knot. Then pull down on the non-tying end to bring it up to your neck. Tuck the small end into the strap on the back of the tie, and fold down your collar.
To release, remove the small end from the strap on the back of the tie. Then, either untie the knot itself, or pull the knot down from the off-side connection to the collar.
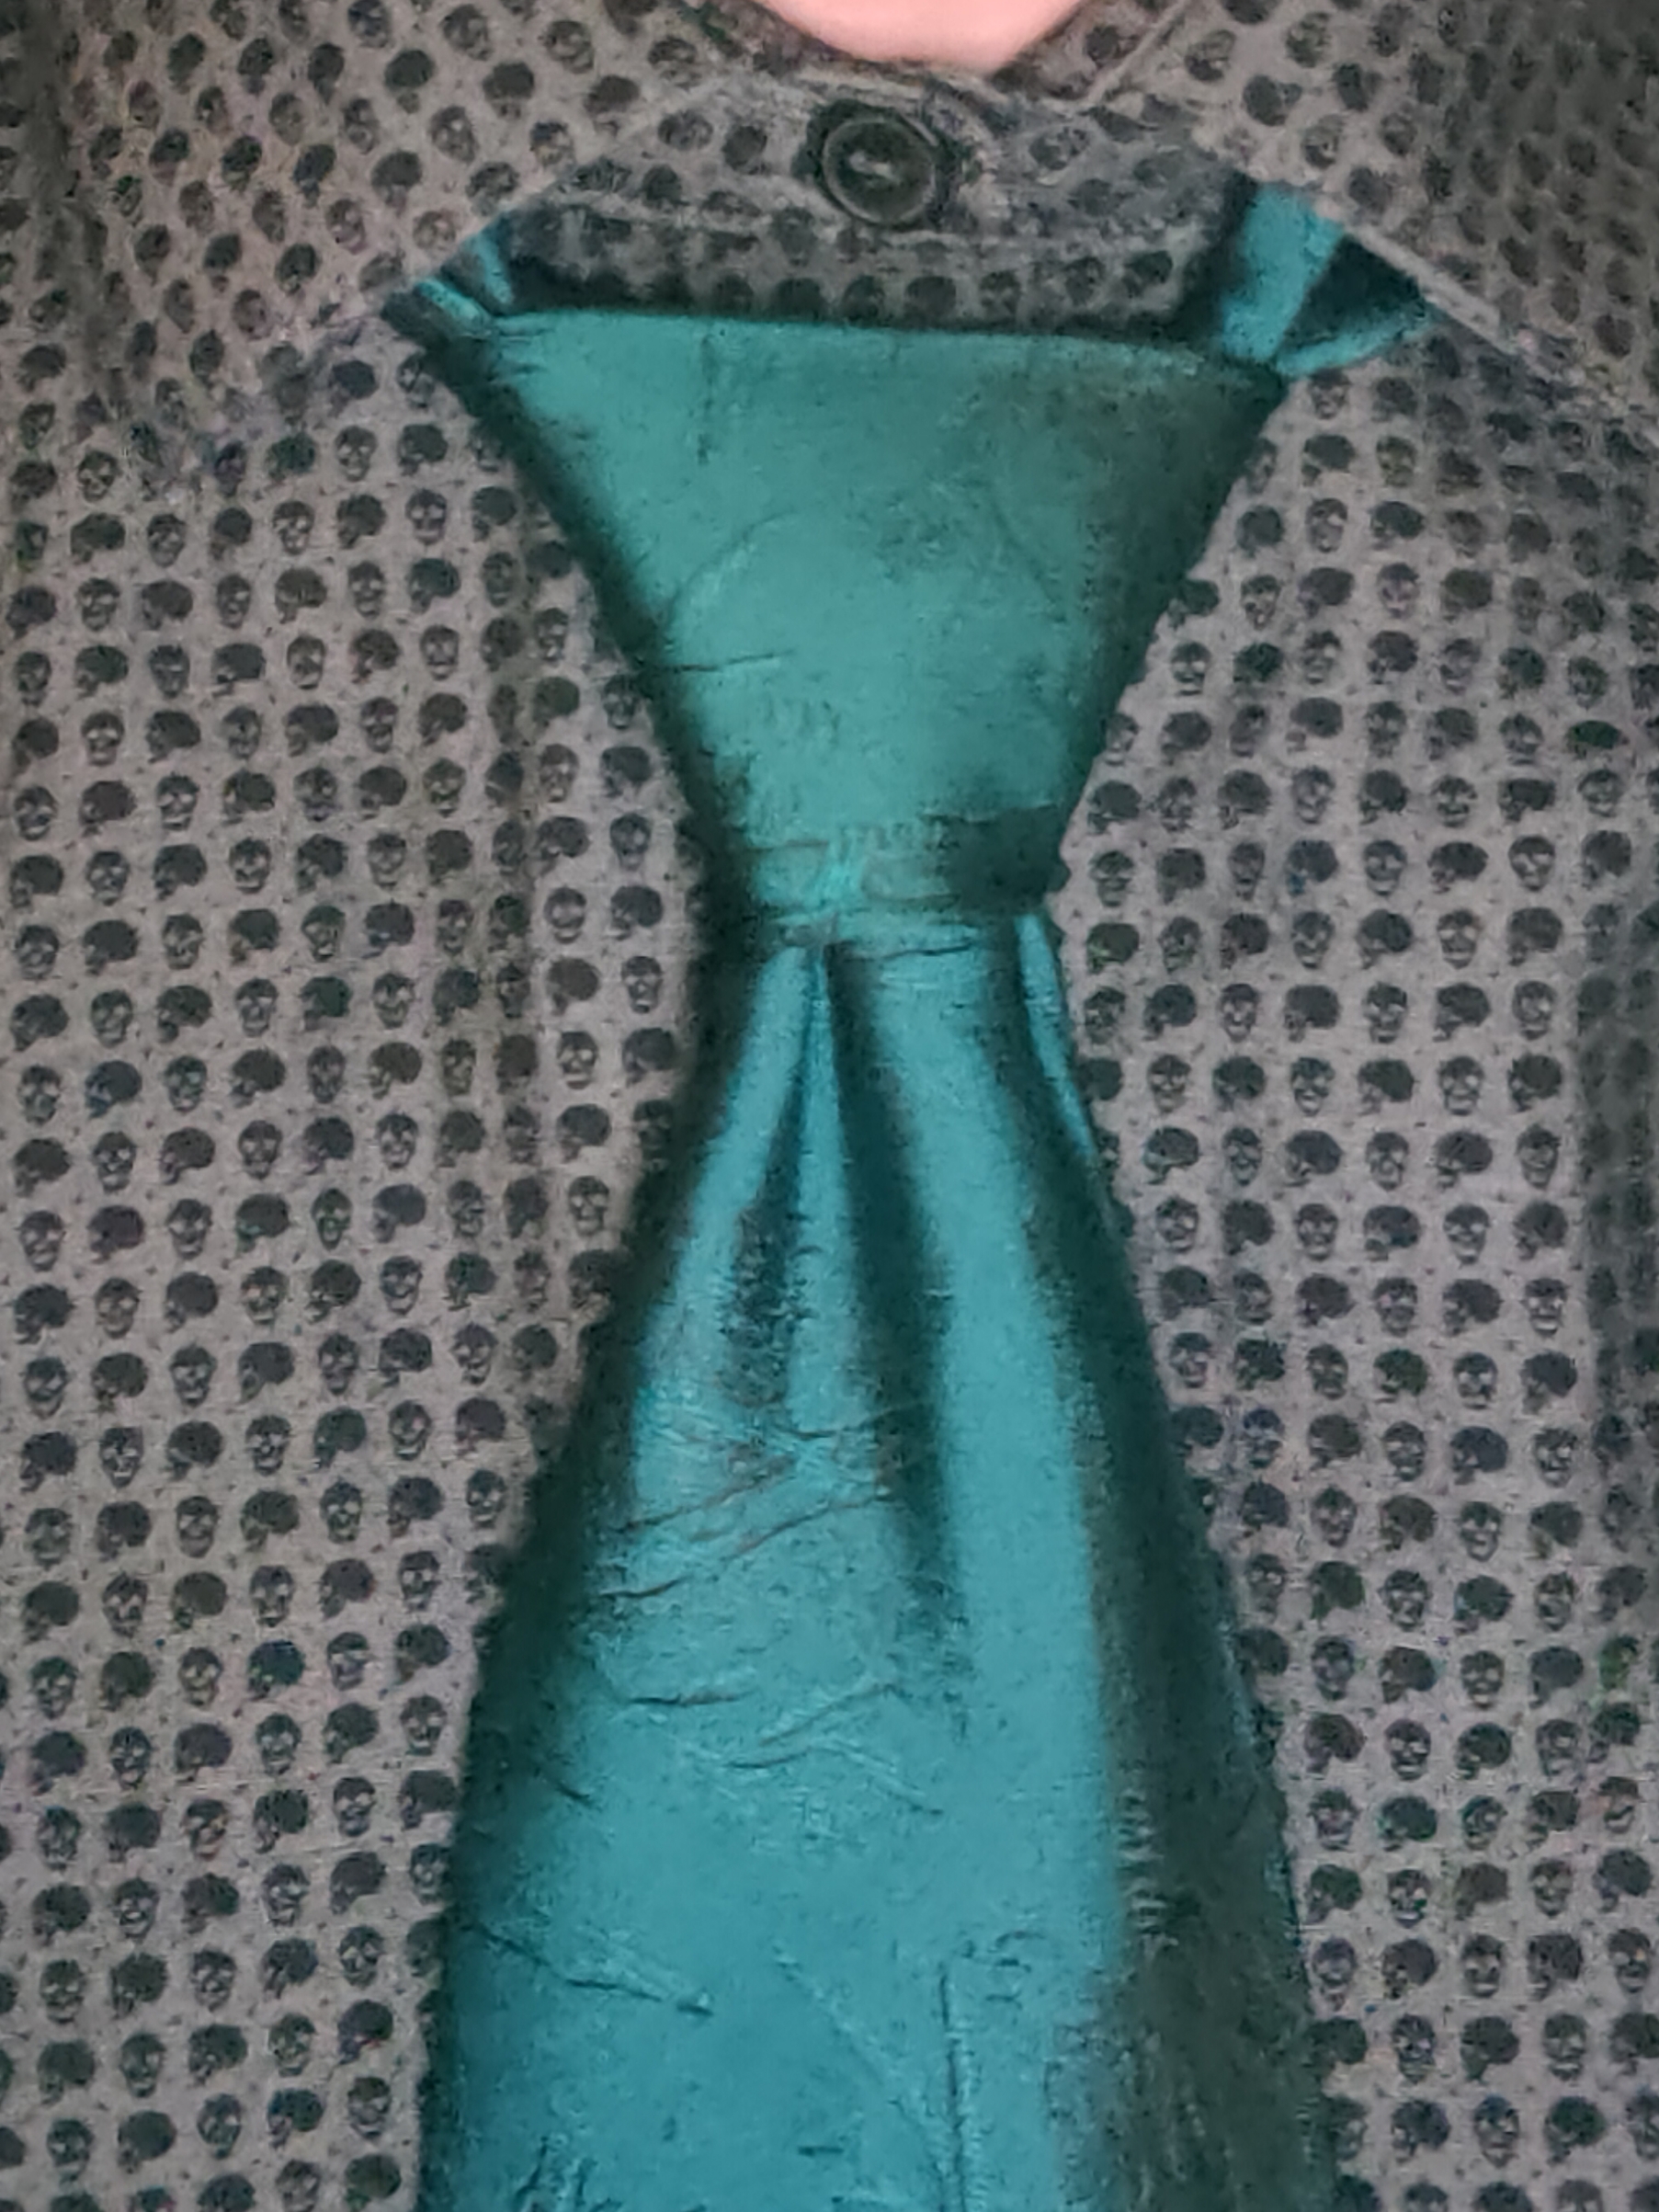
One of the most simple and adaptable knots commonly known. Easy to tie and remember, and usable in almost any shirt tie combination. Another way to remember it: "Around and down, then around and up, and tuck in."

  1. Tie with large end
  2. Wrap around front to start-side
  3. Through neck from start-side to back
  4. Wrap around front to off-side
  5. Through neck from back
  6. Tuck through front layer

This is the quickest knot to tie, but can be much too small and unbalanced for certain combinations. Wear this only with a thin tie and collar.

  1. Tie with large end
  2. Wrap around front to start-side
  3. Wrap around front to off-side
  4. Through neck from back
  5. Tuck through front layer

The original complete version of the popular windsor. Probably invented by the father of the famous Duke of Windsor. Larger than the half windsor, but not too large.

  1. Tie with large end
  2. Wrap around front to start-side
  3. Through neck from start-side to back
  4. Wrap around front once to off-side
  5. Through neck from back
  6. Tuck through front layer

Very similer to the half windsor, but a bit smaller. Makes an odd triangle with large dimples. This knot is lesser known now due to its backwards state, but is still quite a simple and balanced knot.

  1. Tie with large end reversed
  2. Wrap around back to start-side
  3. Through neck from back to start-side
  4. Wrap around back once to start-side
  5. Through neck from back
  6. Tuck through front layer

This knot creates a strong set of layers. Very very simple, best to use a finger in the loop to keep it straight.

  1. Tie with large end
  2. Wrap around front to start-side
  3. Wrap around front to start-side loosely
  4. Wrap around front to off-side loosely
  5. Through neck from back
  6. Tuck through front two layers

The obvious continuation of the Prince Albert Knot, Gets very large and impressive in it's minimalism. Try the Prince first.

  1. Tie with large end
  2. Wrap around front to start-side
  3. Wrap around front to start-side loosely
  4. Wrap around front to start-side loosely
  5. Wrap around front to off-side loosely
  6. Through neck from back
  7. Tuck through front three layers

A large and assymetrical knot, matches well with stripes. Relatively complex but looks clean and proffesional. Give lots of extra length at start.

  1. Tie with large end reversed
  2. Wrap around back to start-side
  3. Wrap around back to start-side
  4. Through neck from back to off-side
  5. Wrap around back to off-side
  6. Through neck from back
  7. Tuck through front layer

A much more fancy looking knot, this is similer to a backwards Pratt, but is easier to tie than it looks.

  1. Tie with small end
  2. Wrap around front to back
  3. Through neck from back to start-side
  4. Wrap around back to off-side
  5. Through neck from off-side to back
  6. Tuck through back layer

A difficult knot made to appear like the Atlantic, but more straight and with another layer. Much more formal and neat than the original.

  1. Tie with small end
  2. Wrap around front to back
  3. Through neck from back to off-side
  4. Wrap around back to off-side
  5. Wrap around front to start-side
  6. Through neck from back to start-side
  7. Wrap around back to off-side
  8. Through neck from off-side to back
  9. Tuck through front off-side layer
  10. Tuck through front start-side layer
  11. Tuck into collar

A small improvement on the Atlantic, giving a satisfying cape behind the knot. Leave the top of the knot loose to give it a smooth and unique appearance.

  1. Tie with small end
  2. Wrap around front to start-side twice tightly
  3. Through neck from back to start-side
  4. Wrap around back to off-side
  5. Through neck from off-side to back
  6. Tuck through back layer

A unique knot, actually an addition to the existing Four in Hand. Creates a strong and unusual pair of triangles. Cannot be adjusted once finished.

  1. Tie Four in Hand with large end
  2. Wrap around front to start-side
  3. Wrap around front to off-side
  4. Through neck from back
  5. Tuck through front layer
  6. Finish and tighten
  7. Tie with small end
  8. Wrap around front to back
  9. Tuck through same loop from top

A recursive knot, with the small end in front of the larger end.

  1. Tie with small end
  2. Wrap around front to off-side
  3. Through neck from back to start-side
  4. Wrap around back to off-side
  5. Through neck from off-side to back
  6. Wrap around front to off-side
  7. Through neck from back to front
  8. Tuck through front layer

One of the most famous complicated knots, it was the knot to introduce me to the art. With an extreme set of layers, it is a tie used only to show off, bit it takes a lot of adjusting afterward.

  1. Tie with small end
  2. Wrap around front to start-side
  3. Through neck from front to off-side
  4. Wrap around front to start-side
  5. Through neck from back to off-side
  6. Wrap around back to start-side
  7. Tuck through front diagonal
  8. Through neck from off-side to back twice
  9. Wrap around back to off-side
  10. Tuck through front diagonal
  11. Tuck into collar

One of two knots I designed myself, based off of the Atantic. It has a similer appearance to the Elderedge, but is much easier.

  1. Tie with small end
  2. Wrap around front to start-side
  3. Through neck from start-side to back twice
  4. Twist around to upper off-side
  5. Tuck through center from off-side to back
  6. Through neck from start-side to back
  7. Through neck from off-side to back
  8. Tuck through lowest back layer

A complex looking knot that is simply many layers.

  1. Tie with small end
  2. Wrap around front to back
  3. Through neck from back to off-side
  4. Wrap around back to start-side
  5. Through neck from front to start-side
  6. Through neck from front to off-side
  7. Through neck from front to start-side
  8. Through neck from front to off-side
  9. Through neck from front to start-side
  10. Tuck into back layer

Another unusual knot, this one becomes 3 equal sections, 2 on one side and 1 on the other.

  1. Tie with small end
  2. Wrap around front to back
  3. Through neck from back to off-side
  4. Wrap around back to start-side
  5. Through neck from start-side to back
  6. Wrap around front to start-side
  7. Through neck from back to off-side
  8. Tuck through front layer loosely
  9. Wrap around back to start-side
  10. Tuck through second front layer
  11. Tighten carefully
  12. Tuck into collar